Showing posts with label olive oil. Show all posts

Friday, September 24

Shrimp and mushroom couscous


I've been making some serious headway into cleaning out the "pantry."  The only problem is that Tara keeps requesting new stuff to eat!  Poor girl!  She normally gets bored of foods pretty quickly and, now that she's limited to liquid and super soft foods on top of the restrictions for Porphyria, she's been trying anything possible to vary up her diet.  We have almost every variety of soup available at the local stores - but all that has done is reinforce why we're not soup people...  It's been interesting - and a little frustrating, truth be told - but we're making do.  On the plus side, she's lost a good amount of weight (~15 pounds as of last weigh in), but due to her curbed activity level, she hasn't had any AIP symptoms!  We're hoping to use this as a jump start to further weight loss when she gets better.  I'll definitely keep y'all posted as that is generally not an easy thing to do with Porphs.


In any event, this meal was a total pantry cleaner.  I used some shrimp that was in the freezer for a while, a white/whole wheat couscous mix purchased from the bulk bins at Whole Foods, and some homemade mushroom stock for the liquid.  While I love the simplicity of the flavors, it might be a little bland for some.  Feel free to play around with seasonings or fresh herbs to up the flavor profile.


Shrimp and mushroom couscous
Serves 4

I like my mushrooms on the crispy side so I sauteed them separately, but you could just as easily cook them together and only dirty one pot.  I'll give directions for both methods.  Also, Tara and I like to have quite a few shrimp per serving, so adjust accordingly for your needs.

Ingredients
  • 1 cup whole wheat and/or white couscous
  • 1 1/2 cups of vegetable stock or water
  • 8 oz (or more) mushrooms, sliced
  • 1 1/2 tablespoons butter
  • 2 1/2 tablespoons extra virgin olive oil, divided
  • 1 pound large shrimp, peeled
  • 1 teaspoons freshly squeezed lemon juice, or to taste, optional
  • Salt and pepper to taste 
  • Optional: skewers, soaked in water for 30 minutes
Directions

Heat the broiler (or toaster oven) until hot and put the rack as close to the heat source as possible.

Cooking the mushrooms and couscous separately:

Heat a large skillet over med - med/high heat.  Once the pan is hot, add 1 1/2 tablespoons of the oil.  After the oil has heated, add the butter and cook until it has foamed. Add the mushrooms, stir to coat, and season with salt and pepper.  Saute the mushrooms in the butter-oil mixture until they are slightly crispy, about 10-15 minutes.

While the saute pan is heating, bring the vegetable stock to boil in a medium pot.  After the liquid has boiled, pour in the couscous, cover and turn off the heat.  Let white couscous stand for 5 minutes, whole wheat for 10.  Fluff with a fork before serving.

Cooking the mushrooms and couscous together:

Follow the directions for sauteing the mushrooms above.  Put the couscous in the pan, stirring to coat with the oil and begins to toast, 3 to 5 minutes.  Add the broth and bring to a boil, then cover and turn off the heat.  Let stand for 15 minutes.  Fluff with a fork before serving. 

After you've started both the mushrooms and couscous, coat the shrimp with the remaining 1 tablespoon of olive oil and season with salt and pepper.  Broil the shrimp, turning once, for 2 to 3 minutes per side.  (As you can see from the pictures, I used skewers for this.  They're not required, but it makes turning a little easier.) (Also, if you look at the pictures, you'll see a sort of coating on the shrimp; I was experimenting with some ground pepitas/pumpkin seeds.  It didn't work very well, which is why I didn't include it in the recipe.  If you do want to add some crunch, include roasted pumpkin seeds just towards the end of the cooking.)

To serve, mix the mushrooms and couscous together and top with the shrimp.

Monday, August 30

Olive oil bread


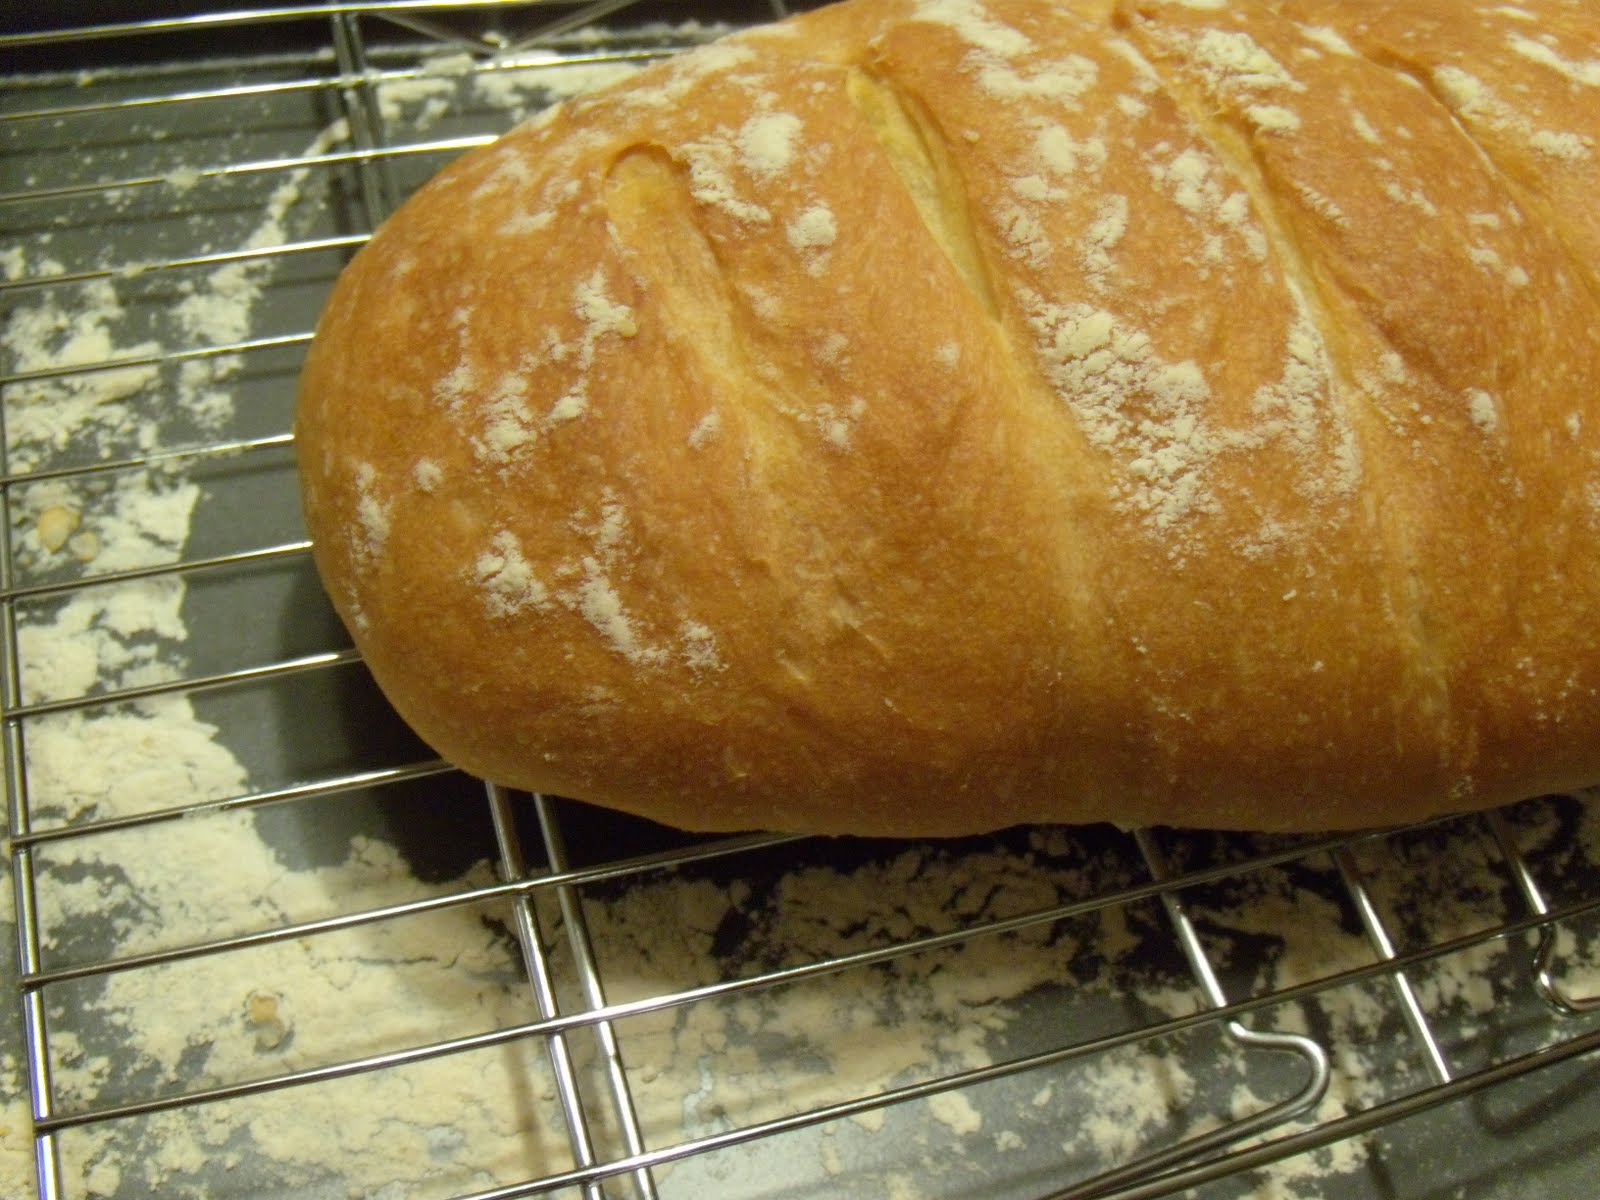
We all know how much I like the avocado/olive oil toast combo, right?  I wasn't happy with my first attempt at homemade olive oil bread, so I knew that I would make it again.  I finally did that the other night.  I gotta say, I was pretty impressed with myself on this one.  I'm not sure why this version was so successful, but I think it had to do with using bread flour and having the oven sufficiently warmed up.


Olive oil bread
From Mark Bittman's How to Cook Everything

I mixed the dough in my stand mixer, but I will give instructions for doing it in the food processor or by hand.

Ingredients
  • 3 cups all-purpose or bread flour, plus more as needed (I used bread flour)
  • 1 cup water
  • 2 teaspoons instant yeast
  • 2 teaspoons kosher salt
  • 1/3 cup extra virgin olive oil
Directions

Stand mixer: Combine half the flour with the salt, yeast, oil, and water.  Using the paddle blade, blend until smooth.  With the machine on slow speed, add the remaining flour a little at a time, until the mixture has become a sticky ball that pulls away from the sides of the bowl (switch to the dough hook, if needed).  Knead by hand for one minute, adding as little flour as necessary.  Proceed below.

Food processor: Combine the flour, yeast, and salt in a food processor.  Turn the machine on and add olive oil through the feed tube, followed by 1 cup of water.  Process for about 30 seconds, adding more water, a little at a time, until the mixture forms a ball and is slightly sticky to the touch.  Proceed below.

By hand: Combine half the flour with the salt and yeast in a large bowl and stir to blend.  Add the oil and water and stir with a wooden spoon until smooth.  Add the remaining flour a little at a time.  When the mixture becomes too stiff to stir with a spoon, begin kneading, adding as little flour as possible - just enough to keep the dough from being a sticky mess.  Knead until smooth but still quite moist, about 10 minutes.  Proceed below.

Form a smooth, round dough ball, put it into a bowl, and cover with plastic wrap.  Let rise until the dough doubles in size, 1 to 2 hours.  When the dough is ready, shape the dough into an oval shape.  Put the dough on a lightly floured surface, sprinkle with a little flour, and cover with plastic wrap (I used the same piece as before).  Let rest until the dough puffs slightly, about 20 minutes.

Pinch the bottom of the oval to seal the seam as best you can.  Sprinkle all over with flour and put on a well-floured baking sheet.  Let rise, covered, for at least an hour and preferably longer, up to 2 hours (I did this for an hour and a half).  Slash the top of the bread several times.

About 30 minutes before you're going to bake, heat the oven to 425F.  If you have a pizza stone, put it on the bottom rack.  If you don't, on the oven floor, put a shallow ovenproof pot (I use 2 old metal bread making pans) half-filled with ordinary (but clean) rocks.  Boil some water.  Just before putting the bread in the oven, carefully pour boiling water to just over the top of the stones.  Close the oven door.  A minute later, put in the bread and start baking, turning the heat down to 375F.  If you like your bread a little bit darker, bake the bread at 425F until the bread just begins to brown, then turn the heat down.

Bake until the crust is golden brown and the internal temperature of the bread is at least 210F on an instant-read thermometer, about 40 to 60 minutes.  Remove and cool on a wire rack.

This post has been submitted to Yeastspotting.
Related Posts Plugin for WordPress, Blogger...