Tuesday, August 31

Reader Spotlight: Call for submissions!

When I first started this blog, we had just started our restricted diet.  At the time, I was only able to find a few pre-packaged, convenience foods that fit within our restrictions.  If I ever saw an allowable snack, which was infrequent, I picked it up immediately to taste test it.  Now, only a few months later, it seems like there are so many more allowable items and I actually have to limit what I can buy, both for my wallet and my waistline.  All the same, I'd like to continue to include reviews on the blog because this diet-revamping process can be frustrating and overwhelming; I think it's important to let y'all know about products that can make it easier for you.

Source

Dear reader, this is where you come in.  I want to open this blog up to you because I need some help reviewing all the goodies out there.  Also, I'd love to have some recipe submissions or suggestions.  So, I've decided to start a READER SPOTLIGHT series!  You don't need a blog to participate, but if you have one, I'll link up to it.  You can either do an official write-up (preferred) or you can just send me your thoughts on a particular product or recipe and I'll do the write-up.

Here's some guidelines to keep in mind:
  • Obviously, the recipe or product has to be AIP-friendly.  By that, I mean no ingredients that are on the Foods to Avoid section of the Restricted Foods List and minimal inclusion from the other sections (although, I won't be too strict on that).  Also, while they don't need to be vegetarian or vegan, the emphasis should not be on animal protein.  In other words, nothing that is heavy on the meat, poultry, etc.  
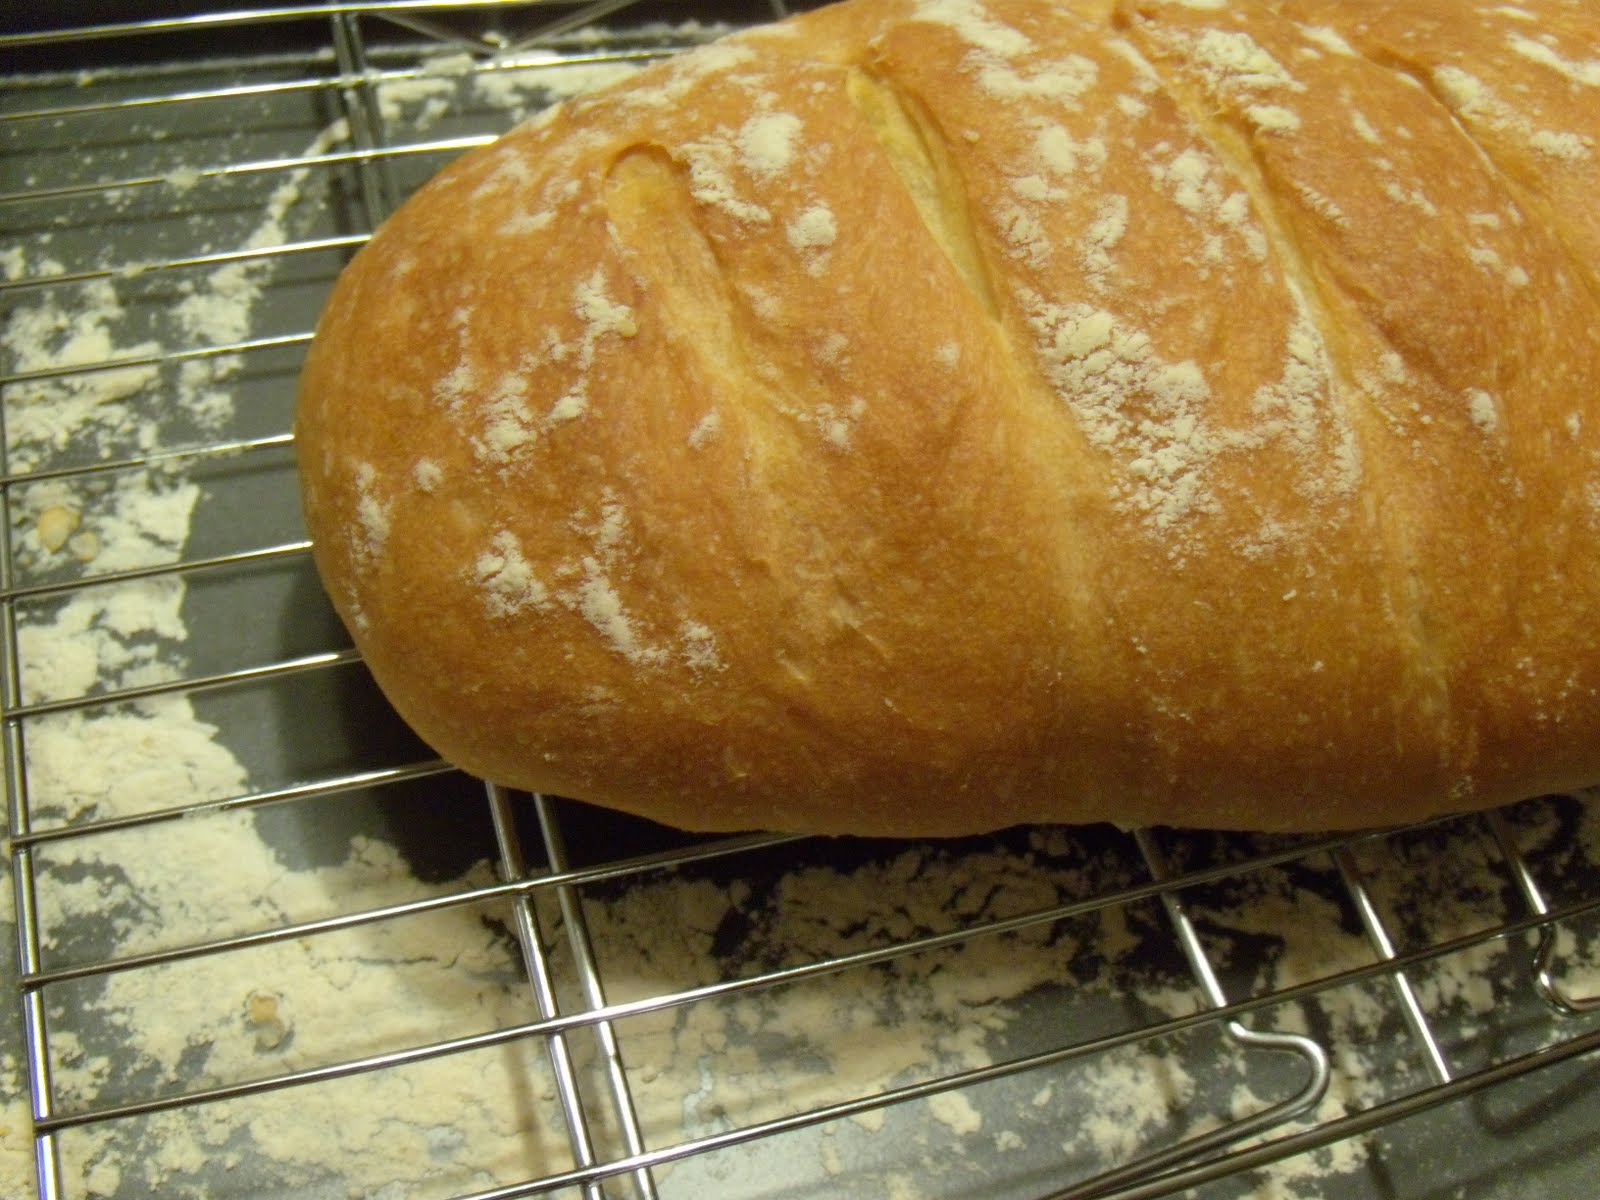
  • For a recipe write-up, I'd appreciate a photo - no worries if it's not stellar; have you seen mine?!  Just make sure it's in focus and the lighting is pretty decent.
  • For product reviews, I'm looking for reviews of any allowable convenience foods out there.  You can purchase these items from anywhere (online, health food store, etc.), but I'd like to pay special attention to what's available at the supermarket. 
  • Include a little personal info about yourself; this doesn't need to be much.

If all this sounds good to you and you're interested, shoot us an e-mail at TheCulinaryVampire [at] gmail [dot] com.  I'll do my best to make sure that as many submissions as possible get published.  I'm looking forward to seeing what y'all come up with!

[Hat tip to (never home)maker for the inspiration.] 

Monday, August 30

Olive oil bread


We all know how much I like the avocado/olive oil toast combo, right?  I wasn't happy with my first attempt at homemade olive oil bread, so I knew that I would make it again.  I finally did that the other night.  I gotta say, I was pretty impressed with myself on this one.  I'm not sure why this version was so successful, but I think it had to do with using bread flour and having the oven sufficiently warmed up.


Olive oil bread
From Mark Bittman's How to Cook Everything

I mixed the dough in my stand mixer, but I will give instructions for doing it in the food processor or by hand.

Ingredients
  • 3 cups all-purpose or bread flour, plus more as needed (I used bread flour)
  • 1 cup water
  • 2 teaspoons instant yeast
  • 2 teaspoons kosher salt
  • 1/3 cup extra virgin olive oil
Directions

Stand mixer: Combine half the flour with the salt, yeast, oil, and water.  Using the paddle blade, blend until smooth.  With the machine on slow speed, add the remaining flour a little at a time, until the mixture has become a sticky ball that pulls away from the sides of the bowl (switch to the dough hook, if needed).  Knead by hand for one minute, adding as little flour as necessary.  Proceed below.

Food processor: Combine the flour, yeast, and salt in a food processor.  Turn the machine on and add olive oil through the feed tube, followed by 1 cup of water.  Process for about 30 seconds, adding more water, a little at a time, until the mixture forms a ball and is slightly sticky to the touch.  Proceed below.

By hand: Combine half the flour with the salt and yeast in a large bowl and stir to blend.  Add the oil and water and stir with a wooden spoon until smooth.  Add the remaining flour a little at a time.  When the mixture becomes too stiff to stir with a spoon, begin kneading, adding as little flour as possible - just enough to keep the dough from being a sticky mess.  Knead until smooth but still quite moist, about 10 minutes.  Proceed below.

Form a smooth, round dough ball, put it into a bowl, and cover with plastic wrap.  Let rise until the dough doubles in size, 1 to 2 hours.  When the dough is ready, shape the dough into an oval shape.  Put the dough on a lightly floured surface, sprinkle with a little flour, and cover with plastic wrap (I used the same piece as before).  Let rest until the dough puffs slightly, about 20 minutes.

Pinch the bottom of the oval to seal the seam as best you can.  Sprinkle all over with flour and put on a well-floured baking sheet.  Let rise, covered, for at least an hour and preferably longer, up to 2 hours (I did this for an hour and a half).  Slash the top of the bread several times.

About 30 minutes before you're going to bake, heat the oven to 425F.  If you have a pizza stone, put it on the bottom rack.  If you don't, on the oven floor, put a shallow ovenproof pot (I use 2 old metal bread making pans) half-filled with ordinary (but clean) rocks.  Boil some water.  Just before putting the bread in the oven, carefully pour boiling water to just over the top of the stones.  Close the oven door.  A minute later, put in the bread and start baking, turning the heat down to 375F.  If you like your bread a little bit darker, bake the bread at 425F until the bread just begins to brown, then turn the heat down.

Bake until the crust is golden brown and the internal temperature of the bread is at least 210F on an instant-read thermometer, about 40 to 60 minutes.  Remove and cool on a wire rack.

This post has been submitted to Yeastspotting.

Friday, August 27

Review: Annie's Homegrown

Tara recently discovered a new source of Porph-friendly snacks, Annie's Homegrown.  Tara initially found these at Whole Foods, but I was pleased to learn that my local Publixes carry them, too!  We've tried several of their products, so I thought I'd do a review.

According to their website, "Annie's offers delicious organic and all-natural alternatives to traditional comfort foods and snacks."  They make a variety of pasta meals, cookies, crackers, cereals, and fruit snacks; they also have a small gluten free line (of which some contain soy).  Peep the catalog for all of their products.    

(All photos courtesy of Annie's.)


The Cheddar Bunnies are Annie's version of  Pepperidge Farm Goldfish crackers.  There are several different varieties, including organic and white cheddar, but we only tasted the regular Cheddar bunnies.  They were very mild tasting and took some time getting used to, especially when compared to the goldfish crackers.  Thankfully, the box has a lot of crackers, so I was able to really develop a taste for them.  The crackers could use a bit more salt and maybe a little more richness (fat?).  That said, I liked them and I would buy them again.

Update: Now that I've had them a few times, I think the salt/fat level is perfect.  Clearly, my taste buds needed to get used to not having all those fillers and fake flavors.


Bunny Grahams are Annie's answer to Teddy Grahams.  I really, really liked these, but I'm also a huge fan of cinnamon graham crackers.  Tara, who is not so much a fan of graham crackers or cinnamon, thought these were pretty good for graham crackers; she actually complained when I finished the box.  The bunny grahams come in a variety of different flavors; so far I've tried cinnamon and honey.  The honey is very mild compared to the cinnamon, but I liked it.  If you are being super strict about avoiding soy, steer clear of the chocolate chip flavor which contains soy lecithin; curiously, the regular chocolate flavor does not have soy.


FYI, Costco carries a large box (36 bags) of the multi-variety, 1oz snack pack size of the bunnies - perfect for lunches or quick snacks.


The Bunny Classics Buttery Rich crackers are similar to Ritz crackers.  Naturally, they aren't as rich as Ritz, but they were pretty good.  Tara thought they tasted a little plastic-y, but I think it's just because hers were a bit stale and stored in a plastic bag (hello).  I'd get them again if I had a hankering for a cracker.  These also come in a few different flavors.  I'm itching to try the saltine variety.


Tara also bought two varieties of their boxed macaroni and cheese, but we haven't tried them yet.  FWIW, Kraft mac and cheese is technically acceptable on our restricted diet right now. Who knew?

Note: I did not receive any compensation for this review, nor did Annie's contact me to do the review.

Tuesday, August 24

Mushroom tacos

When it comes to preparing meals that are supposed to contain meat, I always ask myself if there is a suitable non-meat substitute.  Usually, if meat is the star of the meal, it can't be replaced, but if meat is just an accessory, it can be substituted.    So, for example, there is absolutely nothing that can replace a good pork chop or some chicken wings.  On the other hand, for tacos, the ground beef (or what have you) isn't so important and can absolutely be swapped.  For me, the seasonings and toppings are what make the tacos.


I normally like to use some form of mushroom when making vegetarian tacos.  I recently had the revelation that chopped up button or cremini mushrooms would have the same texture as cooked ground beef and it would make the tacos much easier to eat.  Sliced portobello mushroom caps are good if you're looking for something comparable to steak or chicken strips; unfortunately, the slices always came out of the taco making for a somewhat messy eat. 


In my last post, I pointed out how tortilla shells and taco seasoning mixes may contain soy.  I searched high and low for soy-free flour tortillas and the only type of tortilla that was suitable was the La Banderita Fat Free Tortillas (click on 'La Banderita', select 'Flour Tortillas', then find the fat free variety).   If you like corn tortillas - Tara doesn't - your options will be greatly expanded.  Additionally, you can make your own, which I have done a few times when I was younger (bonus points if you use your hands to flip the tortillas like my Guatemalan friends).

For the taco seasoning mix, your best bet is to make your own.  I was stoked to find that I had all the  ingredients listed in most taco seasoning recipes (be aware that they contain onion and garlic powder, items that may need to be restricted for Porphs).


Mushroom Tacos
Serves 2

This is an incredibly easy recipe to make.  I can normally get this on the table in under 30 minutes (20 if I'm fast and organized) and most of that time is spent prepping and cooking the mushrooms.

Ingredients

  • 8-16oz  mushrooms, stems removed and diced
  • ~1 Tb oil for the pan, grapeseed or olive oil are good
  • ~1 Tb butter, optional
  • 1/4 - 1/3 cup water
  • 1 Tb or so taco seasoning
  • 4-6 taco shells or tortillas
  • Toppings, we like: salsa, shredded lettuce, shredded cheese, sour cream, diced tomatoes, and diced onions

Directions

Heat a large skillet over med-high heat.  When the pan is hot, add the oil.  After the oil has heated, add the butter.  When the butter is melted, add the mushrooms.  Cook until mushrooms are browned and slightly crispy, about 10 minutes.  At this point, add the taco seasoning and water; stir to mix.  Let the liquid come to a boil, then turn the heat down to low and let it simmer until most of the liquid has evaporated. 

While the mushrooms are cooking, prepare all of your toppings: shred the lettuce, dice the onions and tomatoes, etc.

A few minutes before the mushrooms are done, prepare your tortillas or shells.  If we're having our tacos with tortillas, I wrap the tortillas in a damp paper towel and microwave for about 45 seconds.  (You could also shape them into a tortilla shell bowl, as we did the last time we made tacos.)  If we're using the taco shells, I stick them in a 350 degree oven for 5 minutes or so;  follow the directions on the package.

Assemble your tacos as you see fit.  (Tara and I do this completely different, naturally.)

*Note: The listed amount needed for the mushrooms is so large because it really depends on your needs and preferences.  If you like just enough filling for your tacos and will maybe have a side dish, then use the smaller amount.  Conversely, if you like to over stuff your tacos and have extra filling to make a small salad on the side and have leftovers, then use the larger amount.  We find that 12oz is a good amount for us.

Monday, August 16

10 foods you didn't know had soy

Did you know that soy is in a lot of bread, cereal, and meat products?  Yeah, neither did we before we began our restricted, Porph-friendly dietAnd, at about 4 months in, we have finally eliminated almost all soy from our diets.  We did this by being super strict when food shopping and now everything we buy is soy-free.  (We are a little less concerned when eating out, but we figure this is more than balanced by our uber-strictness at home.)  This has been incredibly difficult because soy is in everything.  Obvious, soy-containing foods like tofu, edamame, soy sauce (Duh!), and soy-based meat products were easy to cut out.  However, there are a lot of less obvious and even surprising foods that contain soy; it is most commonly in the form of soy lecithin and soybean oil, but it can also be found as soy flour and soy protein.  

Here's a list of 10 foods you probably didn't know had soy:

1. Prepared baking mixes like cake and brownie mixes

My favorite boxed mix.


2. Crackers and cookies: most commercially available brands.


3. Breads: most commercially available brands

I love their 100% Whole Wheat.


4. Breakfast cereals, especially high-protein varieties like Kashi

I can't eat any of their stuff anyway, due to a buckwheat allergy.


5. Multi grain products like crackers, cookies, and pastas.


6. Flour tortillas

Fat free versions can be OK.


7. Frozen prepared meals

7 different mentions of soy ingredients!


8. Seasoning mixes


9. Peanut butter


10. Chocolate

Even the fancy Valrhona has soy. :(


    Of course, soy is in lots more foods than those mentioned above.  What surprising foods have you found that contain soy?

    I had originally intended on providing some alternative choices for each category, but it all came down to checking out an alternative, more natural product and/or make your own.  Thankfully, I've been noticing that there are more and more soy-free alternatives at my regular grocery store, especially since my last snacks review.  I have had the hardest time with bread products and chocolate (for which I don't think there are any soy-free versions).  As far as making your own food, I find that it is incredibly satisfying eating a meal or treat that I made myself, even more so if I've put a lot of work into making it.

    And, yes, you can make your own Oreos.

    Wednesday, August 11

    Key lime pie ice cream


    I like to make homemade ice cream and I'll use any excuse to prepare it more frequently, so imagine my excitement when I saw that Scoopalicious was having an ice cream contest sponsored by Eagle Brand.  To be considered for the contest, the recipe must include Eagle Brand Sweetened Condensed Milk.  Key lime pie is one of my favorite desserts and it's one of the first things that comes to mind when I think about sweetened condensed milk.  So, naturally, I had to make key lime pie ice cream for the contest.  


    I'm used to working with higher fat ingredients when making ice cream, so I wasn't sure about using the 2% milk that this recipe called for.  If I wasn't so steadfast about making a recipe as written the first time, I would have used full-fat milk or half and half and definitely a higher cream ratio (I'd still like to experiment with this in the future).  In any event, I'm glad I followed the recipe because the lower fat content allowed the key lime flavor to shine.  It also lent a slight iciness to the ice cream that was refreshing, especially after letting it sit in the freezer for a day.  
     

    If you can swing buying organic dairy ingredients, definitely do that.  It may just be me, but I think that organic milk and cream add a little extra something to ice cream. 


    Since I'm not in the habit of using bottled lime or lemon juice, I bought a bag of key limes to squeeze - Oh, the benefits of living in South Florida!  I also zested the key limes, but I wouldn't recommend doing this unless you're a bit of a masochist because it took far too long for a such a small amount of zest.  I won't do that again. The actual cutting and squeezing of the limes was pretty quick because they are so small.


    Key Lime Pie Ice Cream
    Slightly adapted from Real Mom Kitchen

    If you can't find real key limes or bottled Key Lime juice - make sure it's Key Lime juice, not Key West lime juice - you could use regular limes or bottled lime juice.  Also, double check the ingredients of the bottled juice to make sure there's no sulfur in it.

    Ingredients
    • 1 1/2 cups 2%  milk
    • 1/2 cup Key lime juice 
    • Key lime zest, optional
    • 1/2 cup whipping cream
    • dash of salt
    • 1 (14-ounce) can Eagle Brand sweetened condensed milk
    • handful or so honey graham sticks (or 2 cookie sheets of conventional graham crackers), coarsely crushed
    Directions

    Combine first 6 ingredients, stirring with a whisk.  If you're using an ice cream maker, freeze according to manufacturer’s instructions.  Fold graham cracker crumbs into the ice cream.  Transfer the mixture to a freezer-safe container and freeze until firm, about 1 hour. 

    If you are not using and ice cream maker, pour the mixture into a freezer-safe container and freeze for 6 hours or until firm.  When the ice cream is slightly firm, fold the graham cracker crumbs into the ice cream.

    When I served this, I put some of the remaining graham cracker crumbs on the bottom of each dish before I scooped in the ice cream.  

    Makes 1 1/2 qts.

    Friday, August 6

    Coconut red pepper popcorn


    Popcorn is a great, carbohydrate-rich snack (or meal) that is relatively easy to make at home.  You could toss a bag of PopSecret in the microwave, but you probably shouldn't because it's pretty bad for you, what with all the potentially toxic stuff they put into it.   Instead, you should go old school - even older than Jiffy Pop - I'm talking cooking it on the stove-top in a pan!  There's no need to buy any equipment and you probably already have everything you need.

    I made some a while back and I cooked it with the popcorn oil we had in the cabinet; it was so disgusting, I had to throw it out.  I don't know if it went rancid or if it was because it was fake and oily tasting.  (I should add that I recently checked the ingredients of that nasty popcorn oil and - surprise, surprise - it was soybean oil.)  I promptly made a batch with butter which was sooooo delicious and yummy - mmmm, browned butter.  Unfortunately, it didn't love me back (cursed lactose intolerance).  I happened upon an article or blog post or something that discussed how movie theaters cook their popcorn in coconut oil.  I always have some around the house - makes a great moisturizer - so I tried a batch with the coconut oil; it was shockingly good!  


    I'm not sure what exactly possessed me to try cooking the popcorn with red pepper flakes, but I am sure glad I did!  They give a good amount of heat, but they don't change the flavor.  Even Tara, who doesn't like hot or spicy foods, thinks it's good.  I've tried a kettle corn version with the red pepper flakes; it was unusual in a good way!


    Coconut red pepper popcorn

    This makes about 3 cups, which is what I consider to be a personal meal-size serving. You could scale up or down as needed.  Also, you can use any type of oil, but I prefer either coconut oil or butter.  You can sprinkle any number of seasonings on your popcorn to flavor it how you like, just wait until after cooking the popcorn.  I cook the red pepper flakes to release the oils.

    Ingredients
    • 1/4 popcorn kernels
    • 1 1/2 Tb coconut oil or butter
    • 1/4 tsp red pepper flakes, or to taste
    • Salt, to taste
    Directions

    Place the oil in a decent-sized sauce pot (mine was 3 qt) and heat over medium.  Sprinkle the red pepper flakes in the oil and swirl around, making sure all the flakes are coated in oil.  Let cook a few minutes to release the oils from the flakes.  Pour the kernels into the pan, swirling around to make sure all the kernels are coated.  Put the lid on the pot leaving it slightly ajar.  You can shake the pot occasionally to move the kernels around.  (Be careful when putting your head directly above the pot; the red pepper oil is strong.)  Cook for about 10 minutes or until the popping slows significantly - when there is about 30 seconds between pops.  Don't worry about popping all the kernels because it's better to have a few unpopped kernels than burned popcorn.

    Pour into a bowl and liberally salt (sprinkle, toss, sprinkle, toss) while still hot. 
    Related Posts Plugin for WordPress, Blogger...